DEPRECATED: Due to Microsoft’s inability to enable serial ports in WSL 2, attempting to perform embedded development in WSL is futile. I strongly recommend Linux, macOS or Windows, instead.
Where I setup the Standard C tool chain (avr-gcc) for the ATmega328P on Windows 10 using Windows Subsystem for Linux (WSL1).
If you are looking to install the AVR toolchain for C using Windows 10 (and not WSL), go here.
Background#
Windows has two different operating environments, Windows (the Graphical User Interface or GUI) and the command line, otherwise known as the command prompt. The former is the typical method of using Windows and the latter is used for program automation and Windows program development. It is entered by typing cmd <cr> in the Windows search bar. It is this type of command line environment which we want to use to develop C software for the Uno. For example, the GCC compiler for C is intended for use in a command line environment, however, the environment is expected to Linux and not Windows command prompt.
Recently, Microsoft added a Linux environment to Windows, called Windows Subsystem for Linux (WSL). This enables the user to run Linux while also using Windows GUI and command prompt. This is great news for Windows users, as it allows them to run the exact same programs in the same manner as Linux users in WSL.
For this set of instructions, we’ll setup WSL, then we’ll have you follow the Linux instructions as they will be the same. That said, from a command line perspective, it can be confusing knowing which environment you are in, Linux (WSL) or Windows command prompt. The easiest way to understand this problem is to realize is that commands which we’ll be using in WSL won’t work in the command prompt and vice versa. Which means if a command doesn’t appear to work or “can’t be found” you will need to switch into the correct environment. More on this as we get into the instructions.
Start by testing with the Arduino IDE!#
After performing these steps on multiple machines, I’ve found it best to install and test using the Arduino IDE before going forward with the installation instructions below. This will reduce the errors to something more manageable and having the Arduino IDE is handy for its Serial Monitor as well it provides an easy method to identify the serial port the Uno is connected.
If you haven’t installed the Arduino IDE, I would recommend installing from the Windows Store, it is the easiest process. Once installed, connect your Uno to your computer and compile and upload the blink sketch. Don’t continue until you’ve been successful, otherwise the remaining instructions will be far too difficult to complete.
Installation of WSL#
As mentioned earlier, Linux is the easiest method to install and execute the required tool chain for compiling/linking/loading a Standard C program onto the Arduino Uno. It is the same tool-chain used by the Arduino IDE, however, we’ll be performing the operations via the Linux command line instead of an graphical user interface (GUI).
Note: I used this site as an inspiration of installing the tool chain. Some of the text will be identical as they performed an outstanding job of explaining how to install WSL. Their best advice was “We peppered the installation instructions with Check steps that confirm your progress through the steps. Use each to validate a step before moving on.”
1. Confirm Windows Version#
Confirm that you are running an appropriate version of Windows 10. To find the version number, type winver into the start menu search bar and run the command. A panel appears that reports the version information as shown in this screenshot:
Check Windows Version
2. Enable WSL#
Type “features” into start bar and open the Control panel to “Turn Windows features on or off”.
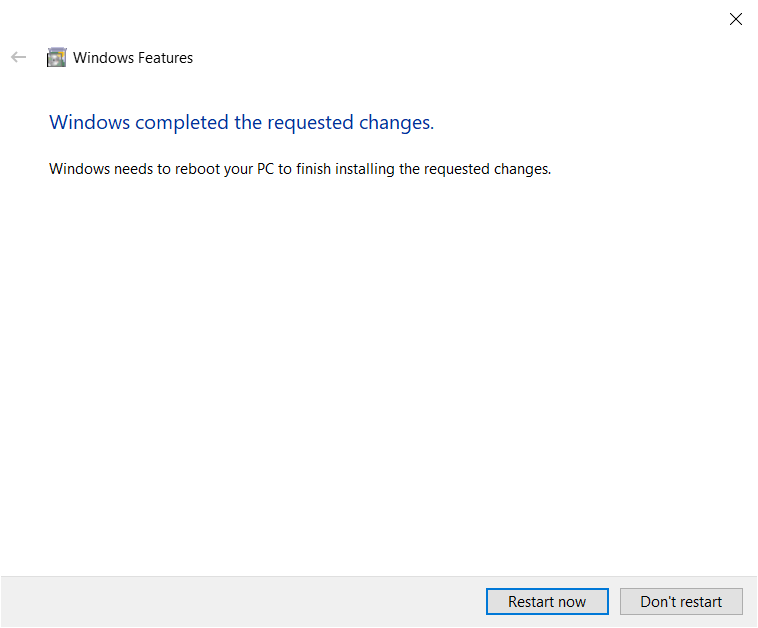
In the panel, find the checkbox “Windows Subsystem for Linux”. Check the box, and click “OK”.
Features: Enable WSL Features: Enable WSL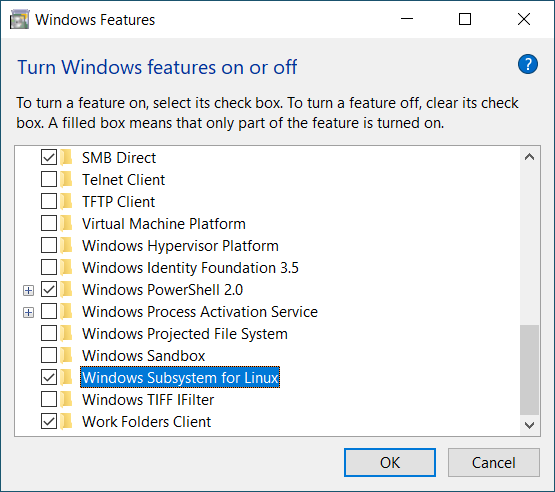
3. Set WSL default to WSL1#
Note: There are two versions of WSL, WSL1 and WSL2. At this time (June 2022), it appears the only version which allows using the serial ports is WSL1. Therefore, it is important to follow the steps below and enable WSL1 as the default and **NOT WSL2.)**
Once your computer has restarted, type cmd in the Windows search window to bring up a command prompt. Enter:
wsl --set-default-version 1This will ensure you are using WSL1 and NOT WSL2.
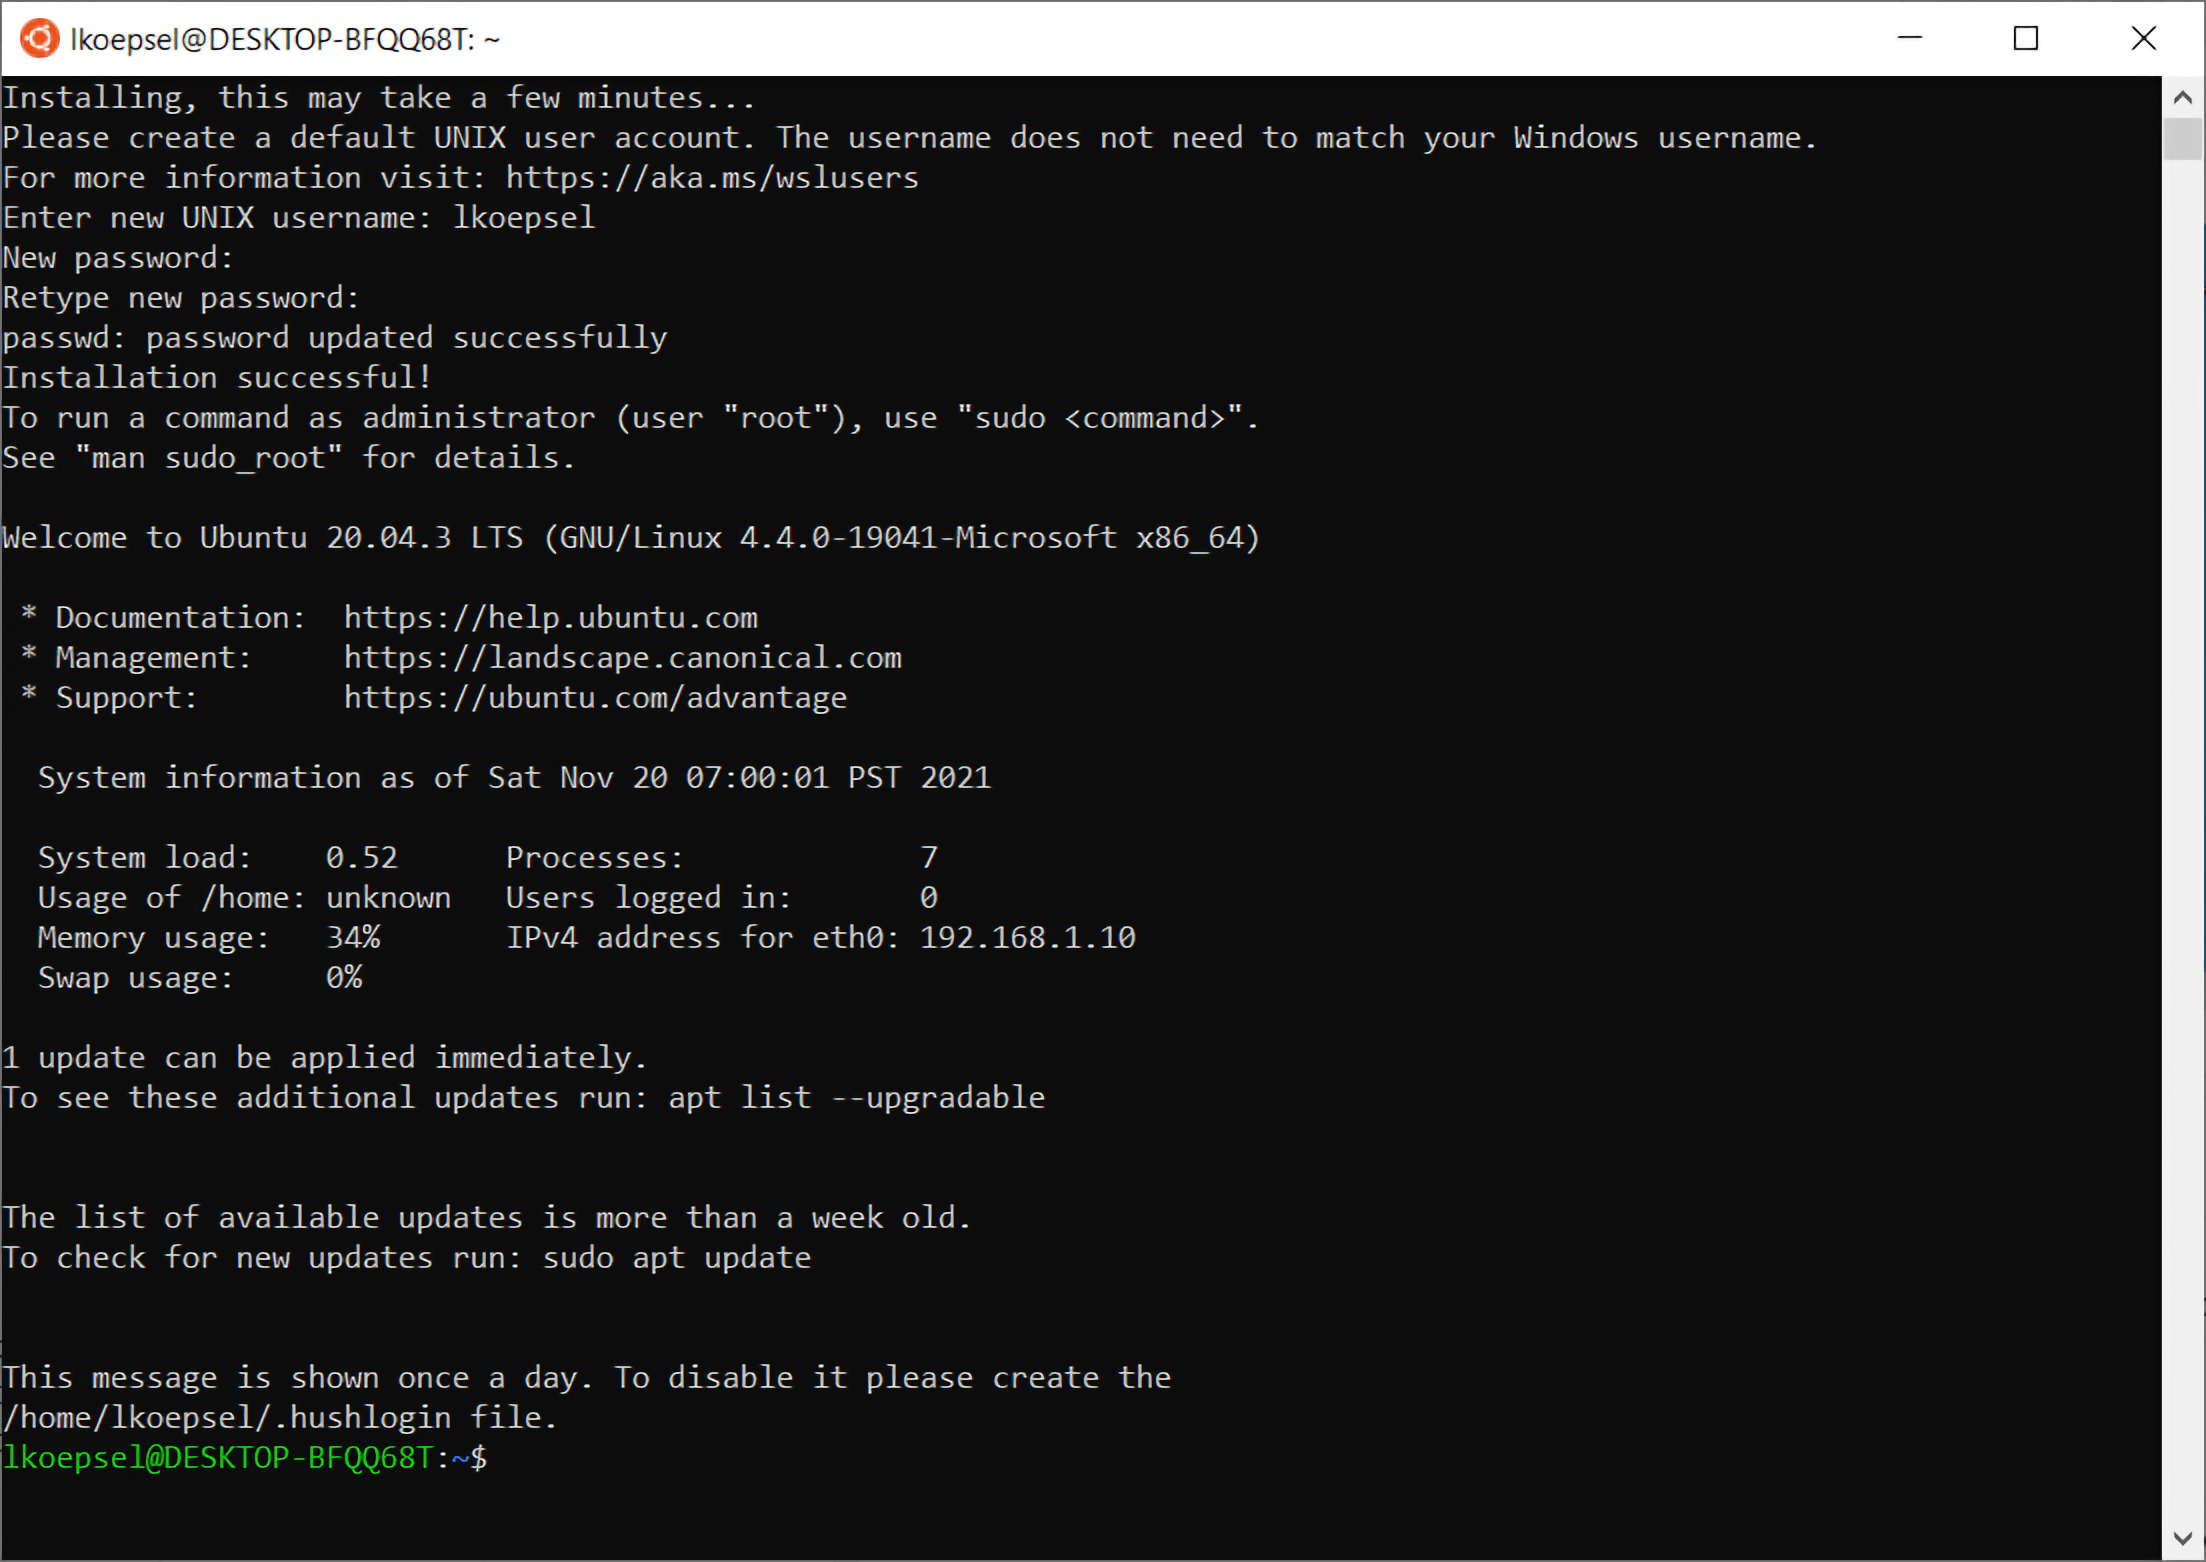
4. Install Ubuntu 20.04#
Ubuntu version 20.04 LTS for WSL is available in the Microsoft Store. Open the Microsoft Store app. Search for “Ubuntu 20”, select Ubuntu 20.04 LTS and install it.
Install Ubuntu 20.04 from the Windows Store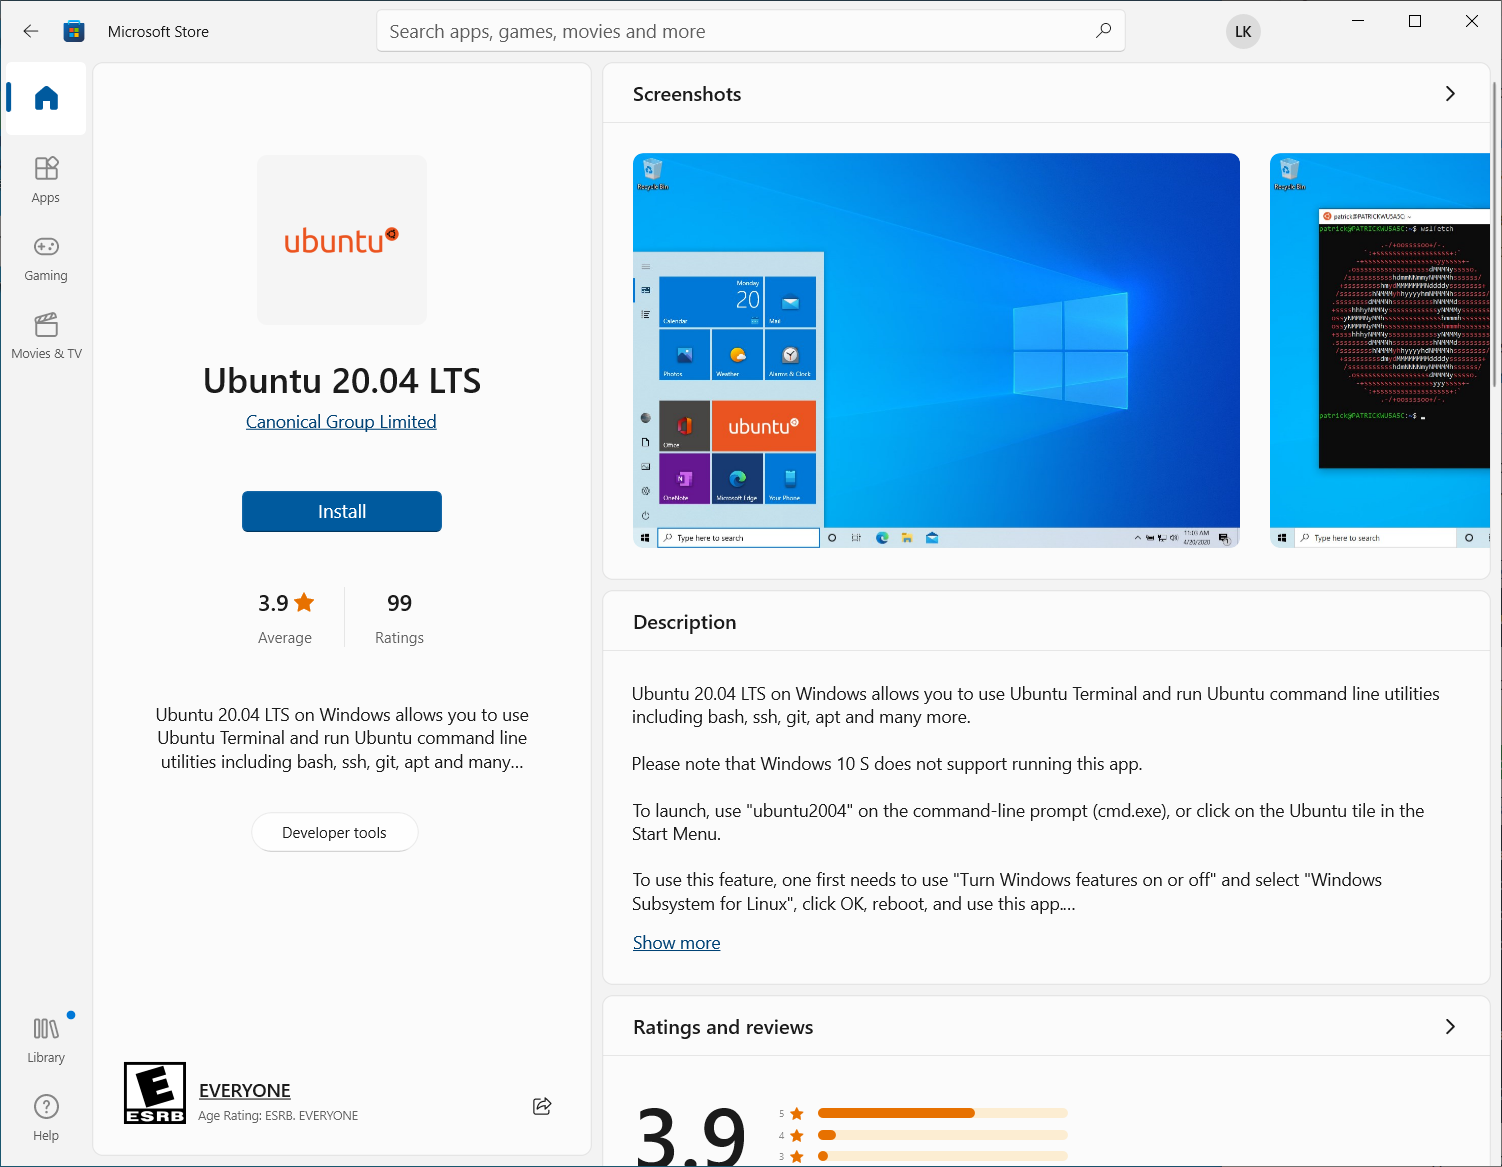
5. Update Ubuntu 20.04#
Apply the latest Ubuntu updates by running the command below in your WSL terminal window:
sudo apt update && sudo apt upgradeIf prompted with a request to install “…install (Y/n)”, the capital letter is the default answer, so press return to accept the installation. This might happen more than once in this process.
Install Ubuntu 20.04 from the Windows Store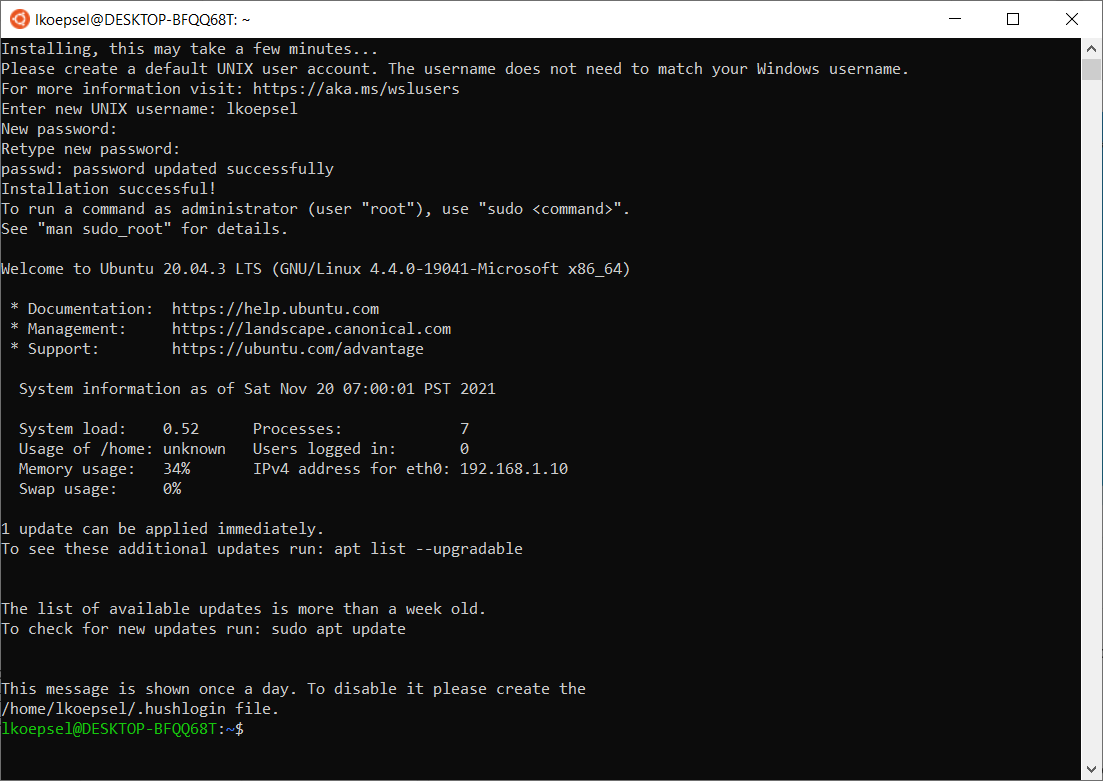
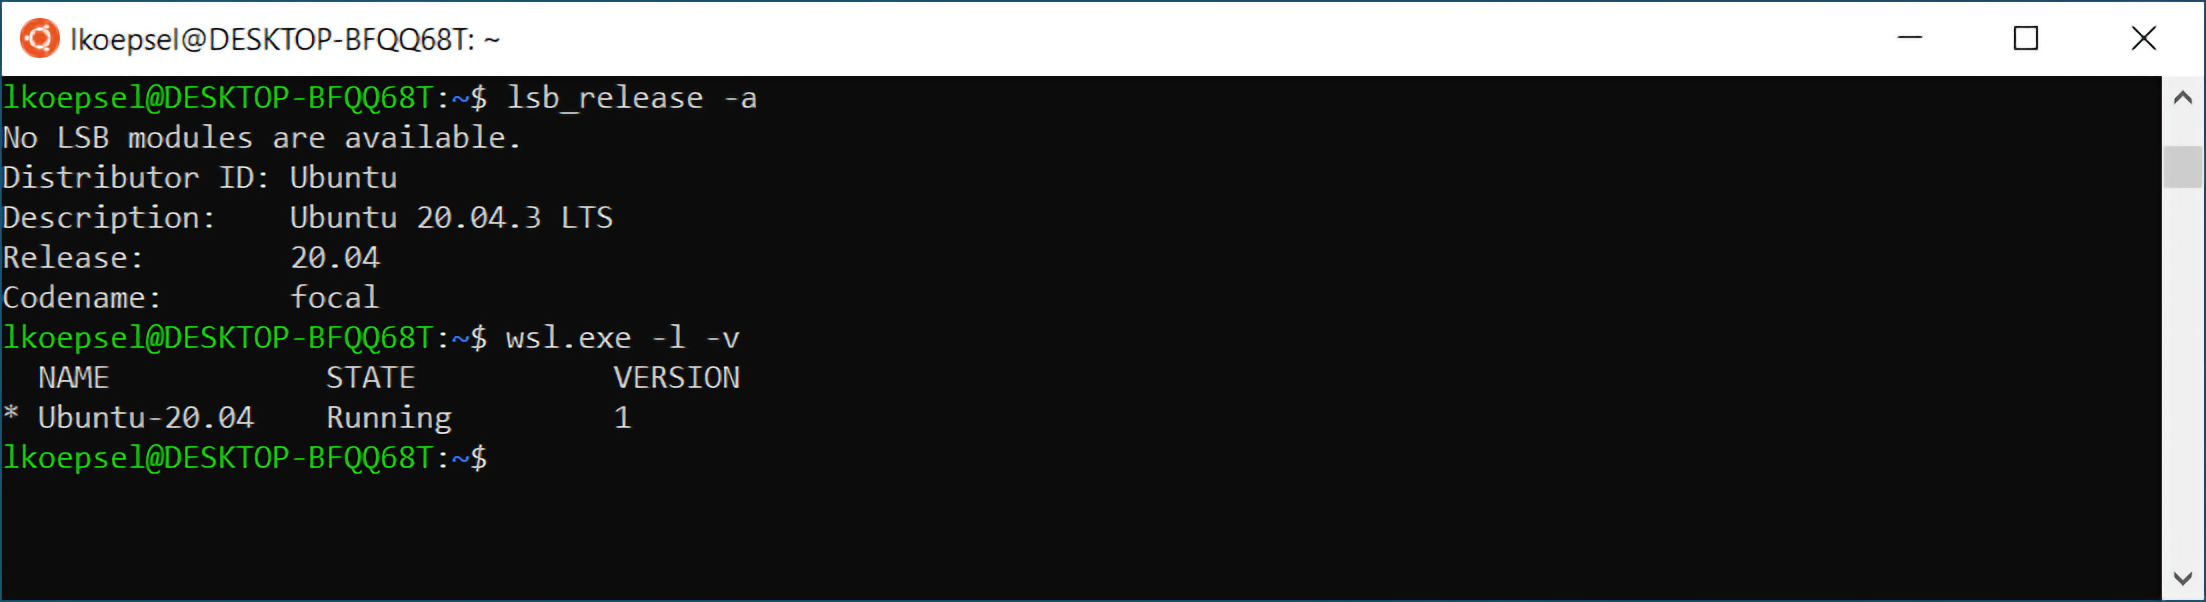
6. Check and confirm!#
It is important to confirm you are running Linux and the right version of WSL. Please enter the commands below in your WSL window and confirm you have the same or a quite similar response.
lsb_release -a
wsl.exe -l -v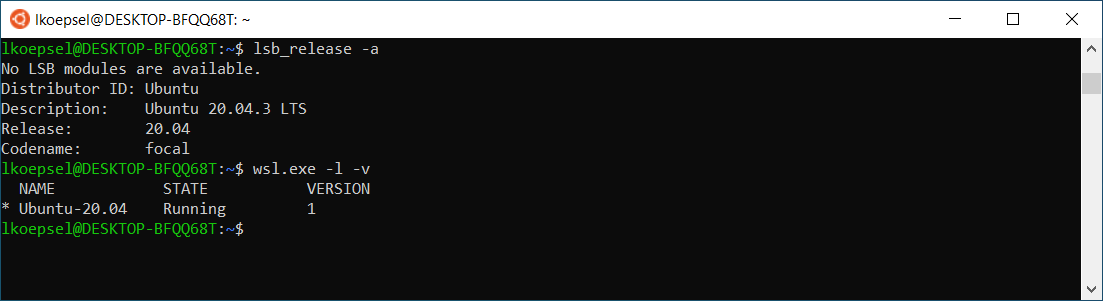
Check and Confirm Ubuntu 20.04 is installed
The rightmost column of the last command reports the version of WSL. It is critical that you are using WSL version 1, not 2, as serial port support is not available in WSL2.
You now have an up-to-date version of Ubuntu Linux running in WSL1 on your Windows computer!
Note: After installing WSL1, be sure to review using Windows Terminal for an improved experience with the Windows command line! Windows Terminal is an improved terminal application from Microsoft available on the Microsoft Store.
Important: You must use WSL to run Linux commands#
To use Linux in Windows, you will have to ensure you are running WSL in the Terminal window. To do this, enter wsl at the prompt and you will see a Linux login in message similar to the one above. If you haven’t logged into Linux in a while, it might ask you to update Linux. If so, use the sudo apt update && sudo apt upgrade, you used above.
If you aren’t in Linux and are in the Windows command line interface, you will get errors when attempting to run any of the Linux commands. And if you attempt to run wsl in Linux, it will let you know it doesn’t exist.
You are now able to run Linux on your Windows computer. For the remaining steps, please use the Linux instructions and start with Install the tool chain.